Color Grading Budget Action Camera Footage to Look Pro
We've all been there. You rip a sick gap through an abandoned warehouse, pull the SD card, and... the footage looks like it was shot on a potato. Washed out skies. Muddy shadows. But here's the thing. Your $150 knockoff camera isn't the problem. Your color workflow is. You don't need a RED Komodo to get cinematic drone color. You just need to stop trusting the auto-white balance and start massaging the pixels.
Kill the In-Camera Sharpness and Contrast
Budget cameras overcompensate. They crank the digital sharpness until every leaf looks like a razor blade. It screams amateur. Before you even think about FPV color grading, dive into your camera settings. Drop the sharpness to low. Drop the contrast. If your camera has a flat color profile or some bootleg flat mode, use it. Give your editing software a boring, gray canvas. Boring is good. Boring means flexibility.
The Holy Trinity: Exposure, White Balance, Saturation

Don't slap a filter on broken footage. That's like putting premium wax on a rusty bumper. First, fix your exposure. Bring down those blown-out highlights so the clouds actually have texture. Next, white balance. Budget sensors love to make concrete look green. Push the tint towards magenta to fix it. Finally, bump the saturation just enough so the image breathes. Congratulations. You just did 80% of the actual work.
Steal the Look with Budget Camera LUTs
Now comes the fun part. The magic sauce. Grab a solid pack of budget camera LUTs. But wait. Don't just drop it on your timeline at 100% opacity. That's a rookie mistake. Most LUTs are designed for perfect studio lighting, not a plastic cube strapped to a vibrating piece of carbon fiber. Dial the intensity back to 60%. Let your primary corrections blend with the LUT. It shouldn't look like a cheap Instagram filter. It should look like an expensive film stock.
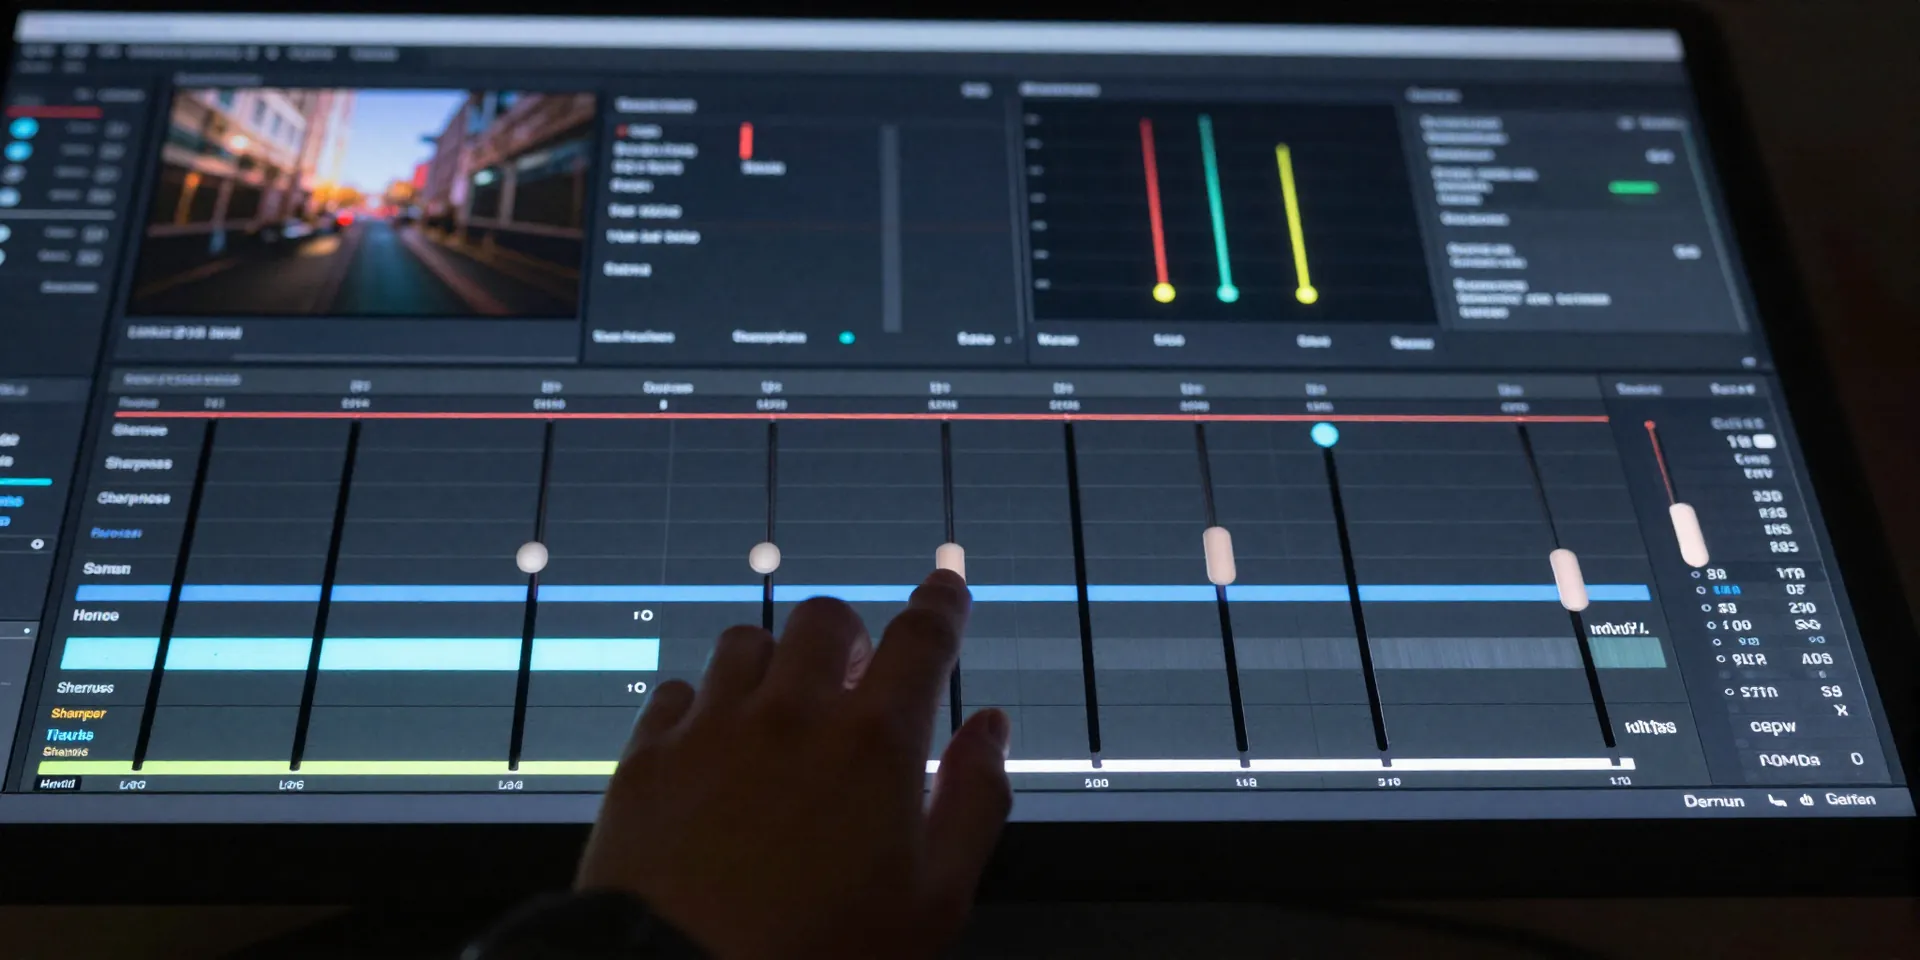
HSL Tuning for That Proper Aerial Vibe
Look at your shadows. Are they pure black? Film isn't pure black. Lift the shadows slightly and push a tiny bit of teal into them. Then hit the HSL panel. Desaturate your greens and shift them towards yellow. It immediately kills that harsh digital video look. Pull the luminance down on the blues to make the sky pop. This is how you trick the brain into seeing a Hollywood blockbuster instead of a weekend hobby flight.